KiwiSDR
October 24, 2016
This post is getting dated! The improvements to the KiwiSDR Firmware is amazing. Go to the this website to get a full description of what is currently offered on this fine receiver.
KiwiSDR
A List of advertised stations to monitor: http://sdr.hu/
A Link to my KiwiSDR: http://ka7u.no-ip.org:8073
A Link to the software and hardware information on GitHub: https://github.com/jks-prv/Beagle_SDR_GPS
The KiwiSDR is a very nice addition to the Ham Shack! Now that I've had it for a time,
I'll see if I can write up what I think about.
My interest in this type of online receiver began with the OpenWebRX by András Retzler. My write up on that unit is located here: http://ka7u.us/2016/03/19/openwebrx/.
Using the RTL-SDR units and OpenWebRX the bandwidth was limited to 3.2Mhz or less and the waterfall seemed to have resolution limitations. The receiver controls were limited by comparison to the KiwiSDR control, and the frequency stability of the various RTL-SDR units was not uniform from one RTL-SDR to another. So when I was able to buy a shiny new KiwiSDR with the promise of a better receiver with more control, I ordered it in!
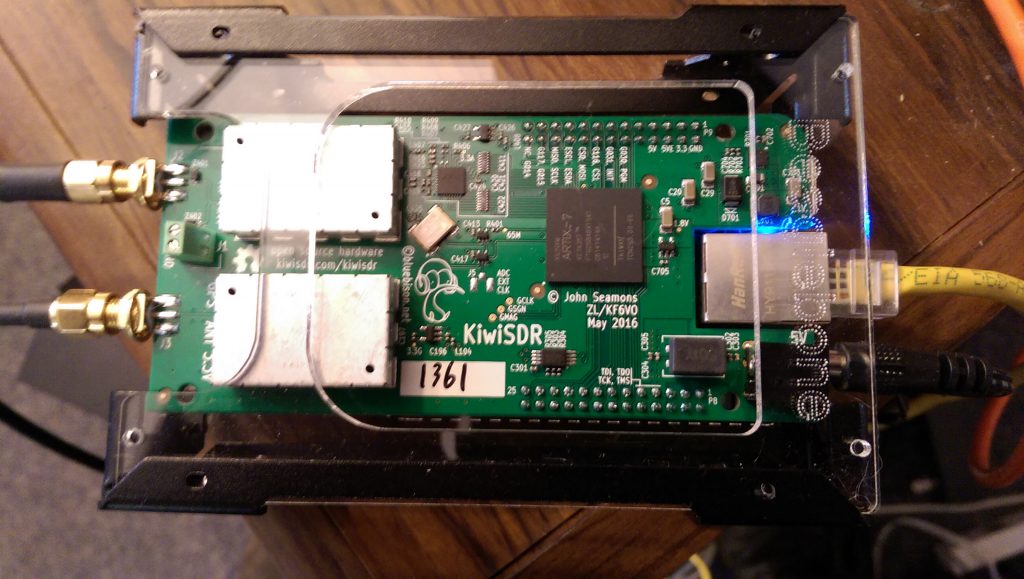
The KiwiSDR requires a 5vdc supply. I bought one of the suggested supplies listed at the KiwiSDR quick start site, and as the KiwiSDR arrived before the power supply, I was able to learn something. The KiwiSDR cape board draws more power than a normal BeagleBone can provide, but the cape is capable of powering the BeagleBone and the Cape. So powering through the mini-usb port in the normal way is not possible. The barrel connector power supply connected to the Cape is the only way to go. Once I got the power supply all was well. You can of course remove the Cape and power the BeagleBone in the usual way for loading the software and other tests without the KiwiSDR attached. I also learned that when installing the software it is best to remove the KiwiSDR Cape, as it is easier to install the Micro-SD card. Once the card is installed, power the BeagelBone on using the standard mini-USB type power supply, watch the LED blink for about 4 minutes, and when the BeagleBone shuts off, remove the mini-SD card, reinstall KiwiSDR Cape, use the barrel connector power supply with the Cape, and remove the mini-USB type power supply from the BeagleBone if it is still attached. The KiwiSDR is now up and running.
I had some frustration getting started with the KiwiSDR admin page. I was editing the information in the fields of the web browser without difficulty, but when it was time to restart the KiwiSDR to save the changes, I could NOT see the unit restarting. I learned that there is about a 30 second delay from the time you click on the restart button until it does restart. The Title field on the admin page has a lot of html and it was not quickly apparent to me that I needed to edit the Title field, duh… Anyway, I did connect to the KiwiSDR via SSH, poked around a bit in the root directory, and using vi edited the kiwi.json file to change to my call sign. So I had the “new user” errors, but overcame them. I did find that if the KiwiSDR is running on the web browser when the admin restarts are done, it is easy to see that it restarts! I wrote to John, ZL/KF6VO and told him about my initial challenges, and he did not stop writing to me until he was satisfied that I knew what needed to be done and to verify that his code was working correctly on the web browser, which it was. I must say I believe John will try all he can to make sure you do not fail if you are setting up a KiwiSDR. A++++ for service in that regard!
Using the KiwiSDR is a pleasure. The GPS unit keeps the KiwiSDR on frequency and stable. Decoding digital audio modes has been flawless using Fldigi with Pulse Audio. There are some nuances to using the radio controls of KiwiSDR on the web browser waterfall.

First thing to do is explore all the control buttons and understand what each one does. There are pop up menus that appear when you hover the mouse over the menu button. The “More” button takes you to the AGC controls.

Generally for SSB I’ve found settings of 100 for Threshold, 3 for slope, and 1000 for decay, yield good results. CW probably works best with 130 for Threshold, 1 for slope, and 350 for decay. Tuning with the mouse has a some options. SSB with a left mouse click centers the bandwidth over the click, whereas a “shift-left click” places the bandwidth beginning at the “shift-click”, which is usually the best way to tune with a mouse on a SSB signal. The left mouse click is excellent for tuning CW however. There are probably more tuning options, but those are the ones I’ve found, well there is also the “shift-left click and hold”while dragging the bandpass tuning around…
http://www.kiwisdr.com/quickstart/#id-user-shortcuts
Currently, I’m using a 210 foot top G5RV up 38 feet for an antenna.

This antenna provides to much voltage on the AM Broadcast band and overwhelms the KiwiSDR, so I’ve placed a MFJ-1046 Passive band-pass tuner in the antenna line, and it is usually set for the 6.4-11.5MHz setting. This seems to attenuate the AM Broadcast well enough and yet pass most all signals reasonably to 15MHz. Frequencies higher than 15MHz are more severely attenuated. I would make a high pass filter beginning at 2MHz for this purpose, but I have ordered an active mini-whip antenna made by RA0SMS and it is my hope that it will be an adequate antenna across the 30MHz band without need for additional filtering.
Nov. 23,2016. Time for an update.
The KiwiSDR is still using the above antenna. I had some trouble with the mini-whip and a
new one has not yet arrived. The MFJ-1046 cut off to many frequencies, so after considering
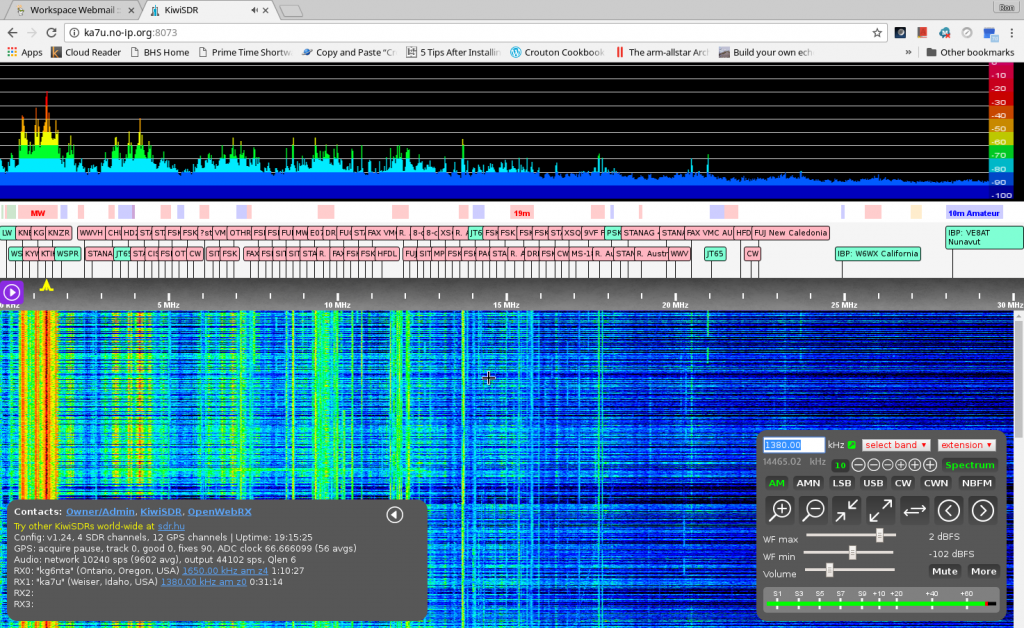
the problem, KKOO @1380KHz seemed to be the power station creating images and noise. A series
resonant LC circuit is now in the antenna line effectively attenuating 1380KHz by over 20dB
and the problem is solved.

The circuit is made of 4000pF mica-capacitors, and 26 turns of 24ga wire on a T50-2 Toroid
core. One side of the circuit to the antenna input, and the other end to ground. See the
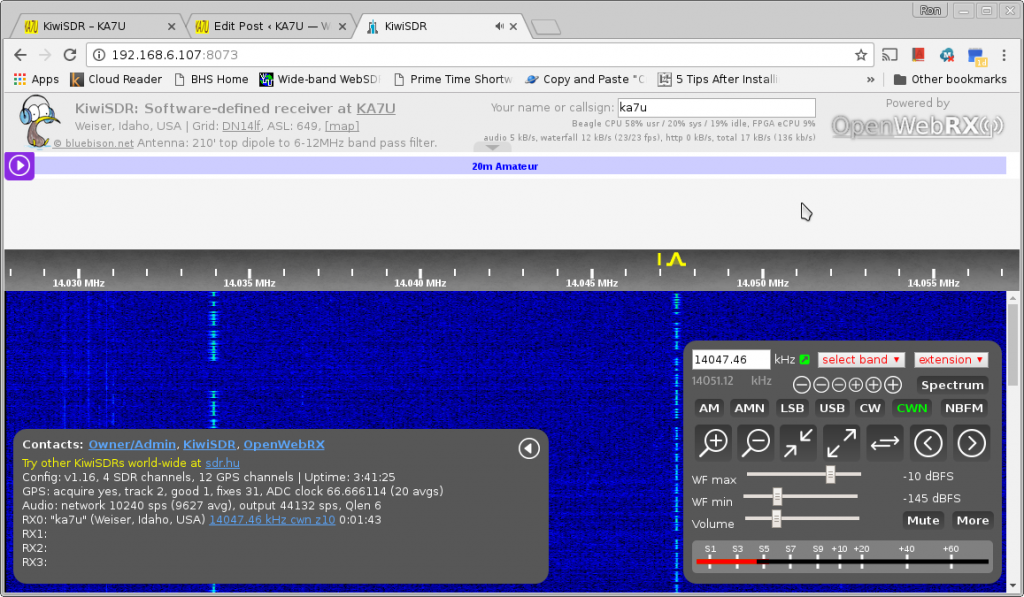
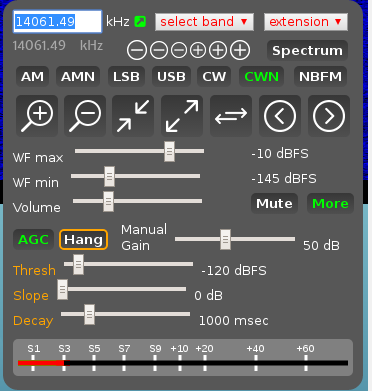
images to visualize the effect of this little wave trap on the receiver performance.

Without filter on 1380KHz

With Filter on 1380KHz
This KiwiSDR is currently shared but not shared on http://sdr.hu , it is now shared on http://ka7u.no-ip.org:8073 .
Locally, the Hams are using it for a diversity receiver and it is helping some people to hear better when the noise levels are overwhelming in the more urban settings. Some are using it for shortwave listening. It is new here, but I think this KiwiSDR will get a lot of use over time.
Last update 11/23/2016
Ron – KA7U


